Well now I've made a few different types of Multi-touch devices FTIR, DI, LED-LP, LLP and now DSI...
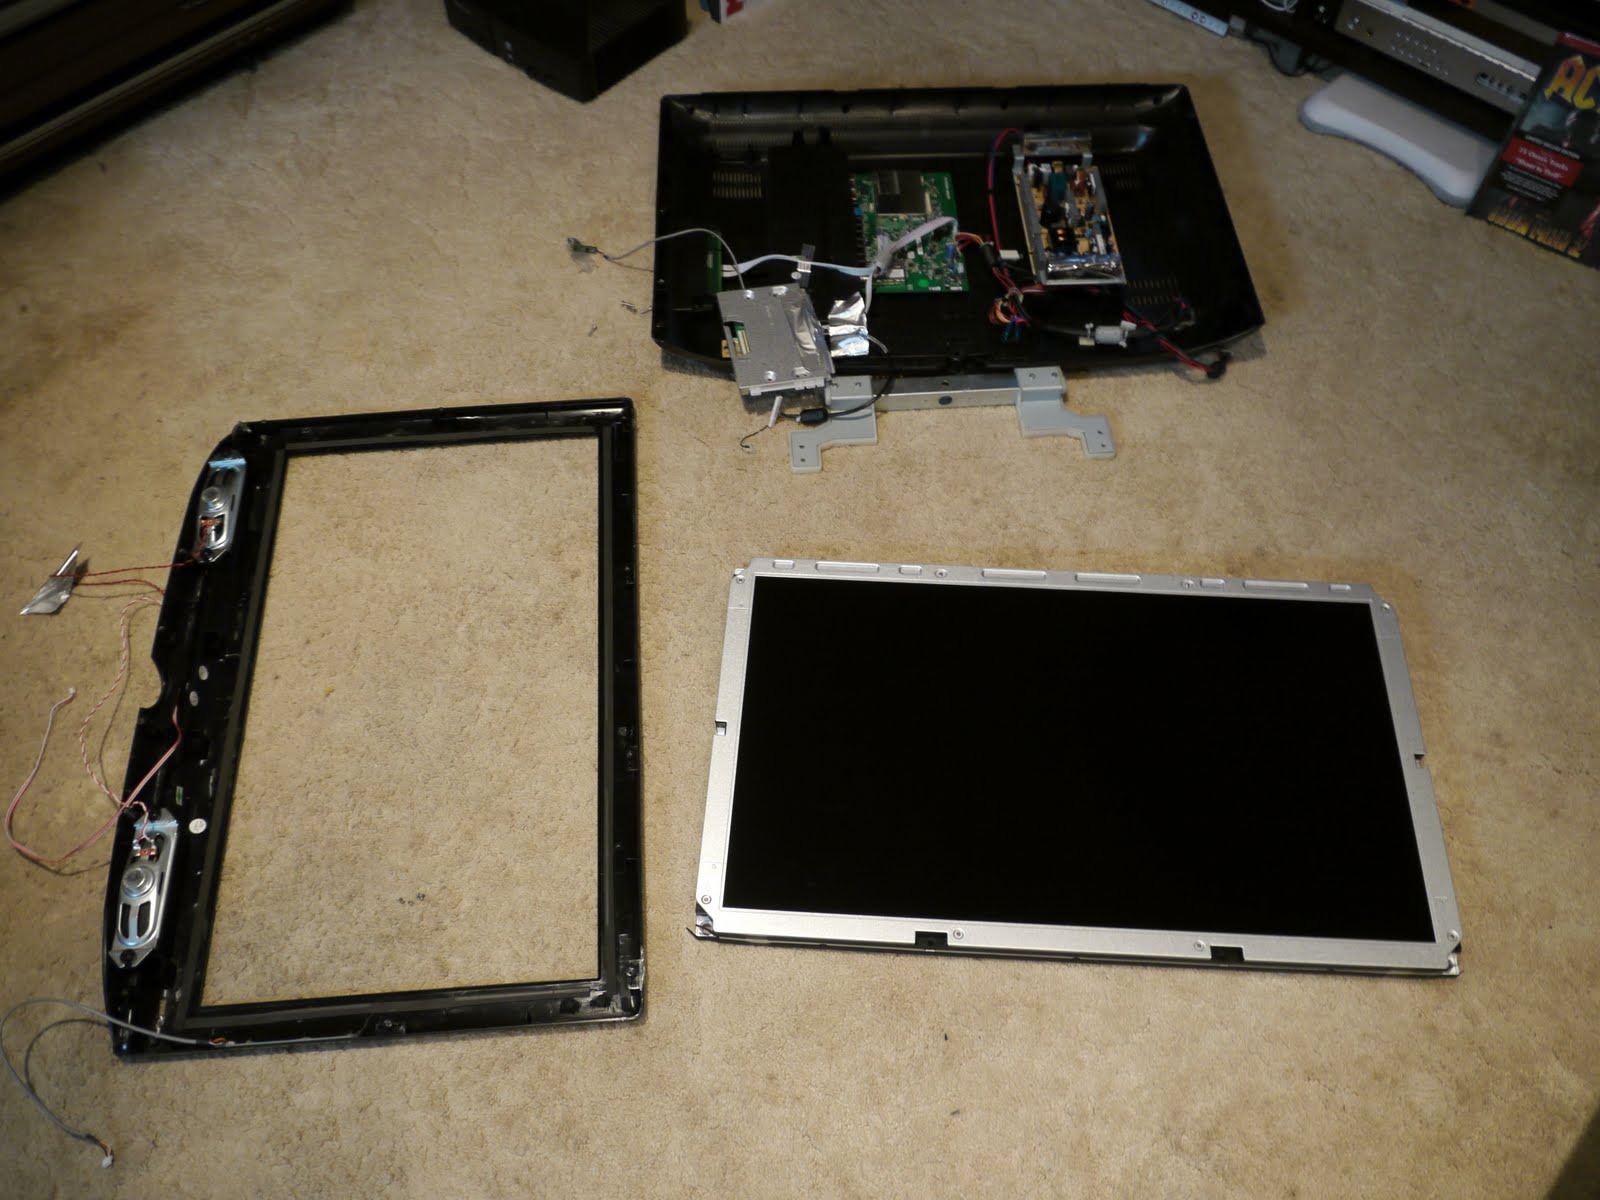
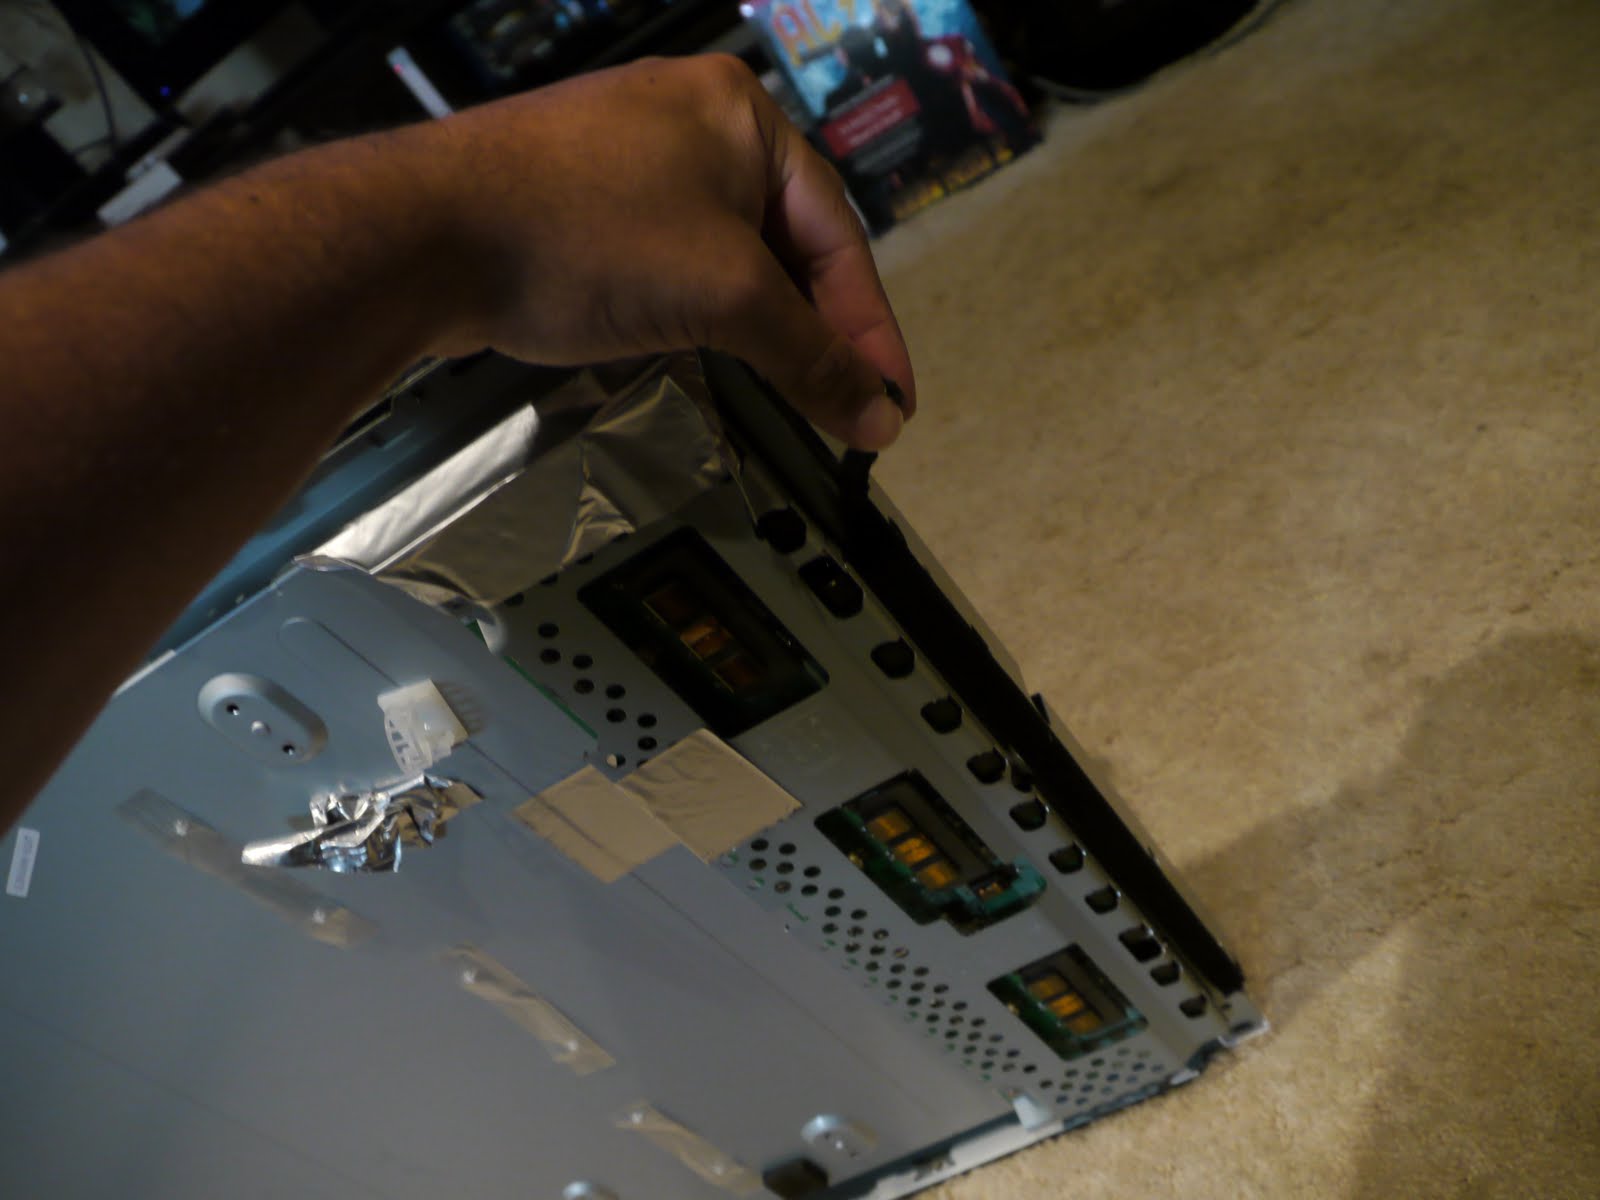
Now that my DSI project has been done, I think I'm going to move onto different types of multi-touch devices. So where to go from here? Well not sure really, but I think I'll look into how to make Multi-touch screens without modifying existing displays.
Or maybe large wall displays. I would like to create an interactive bench top installed in a kitchen one day...
I can say for sure though... It's been fun! =)