So now it was time to design the app for the climate controls and also design and build the interface to communicate with the iPad app and the Ford controls.
This is the original Ford combined CD Player and climate control panel.
So then I coded up the app in Xcode and built my module (which will not be shown due to copyright). Here is the first draft screenshot of the Ford Integration App
The design of the app changed progressively over time to include a rotary volume knob to better match the look and feel of the standard radio, including multiple background options.
Everything is tested and working better than expected! A video will be posted soon in Part 4..
A while ago I was installing a custom iPad mount into a mates car when I thought I needed a large touch screen in mine. I originally toyed with the idea of installing a widescreen 19" touch enabled monitor vertically, however that proved to be way to overkill. It seems it was made for an iPad. And construction began...
Below are some construction pics...
Original Dash with modified tissue box holder for Double Din Radio. (First Mod)
Starting the iPad Bezel
Initial placement test
Partial mold including new Double Din bezel
More to come...
Although I have been quiet lately on my blog, I have been working on a few projects. One of which is an SMS alert system for a friends pump shed for his farm.
This system is pretty straight forward and not overly complicated, however there were some requirements that made the code a bit tricky to sort out. Uses an Arduino UNO and an GPRS Shield. Total cost around AU$150. Anyway, here is the final result.
Ok so I like so many others was having issues running the PS3 CL-Eye driver using the Windows 8 Developer Preview.
I had tried modifying the USB system drivers from Windows 8 by using the older Windows 7 drivers without success.
Below is a short demo of it working on my table:
And here’s the Backend:
So here’s how I got it to work... =========================
1). I removed the CL-Eye drivers that I had installed that kept crashing when I tried to run the CL-Eye Test program.
2). Then restarted the system.
3). Installed the older PS3 Eye drivers by AlexP (PS3Eye Camera Setup v3.0.0.0901.exe) <-- Lucky I had this still on my machine! ***EDIT: Here is a LINK for the PS3 Driver
4). Run the test program and Wham! Picture!
5). Installed CCV (I think it was ver1.2 that I had at the time)
6). Downloaded and installed the SurfaceRuntime.msi package from Microsoft
7). Downloaded the BSQSimulator (Release 1.1 AnyCPU.rar) and the Driver (Driver_32Bit-64Bit.rar)
8). Installed the BSQSimulator Driver because I don’t have surface installed on my Windows 8 Drive.
9). Ran CCV, BSQSimulator - (in Administrator mode) and everything works!
I’d be interested in other peoples experiences so please let me know how you go!
Well as some of you may remember I have been working on an App Scroller based on the original App Loader for Multi-touch Flash applications. I have not done a lot more on the application source code for a very long time and due to popular demand I have posted the source code and instructions so that someone else may finish the job so to speak =)
Below is the source and example applications along with the XML needed to make changes to the menu style.
A long time ago when I first made The DSI Project I must have accidently crimped one of the flat ribbon cables to the LCD module. This didn't cause any problems at the time and as you can see from the video in the last post, it worked just great!
Over approx 6 months there were no issues, then just before Christmas 2010, vertical lines started appearing and changed when pressure was applied to the LCD. With my past experiences in the flat-panel industry I knew this was bad and irreversible.
So I stopped with Mutltiouch for a while angry that I never noticed it before, till a mate of mine at Panasonic donated a 32" TX-32LWD500A LCD to me!
So I'm back! And below are some pics of the new module installed into The DSI Project - Take 2!
This cable needs to be extended... Oh long days ahead for me!
Well now I've made a few different types of Multi-touch devices FTIR, DI, LED-LP, LLP and now DSI...
Now that my DSI project has been done, I think I'm going to move onto different types of multi-touch devices. So where to go from here? Well not sure really, but I think I'll look into how to make Multi-touch screens without modifying existing displays. Or maybe large wall displays. I would like to create an interactive bench top installed in a kitchen one day...
Hello Again! It's been a long time between posts I know, but I have finally had some time to record the performance of my latest multi-touch table 'The DSI Project' - still haven't come up with a better name =)
This is a Demo Reel of a 32" Multi-touch table showcasing some of the applications used in DIY setups.
I have also included a diagram explaining the order of the LCD & Touch 'Layers'. NOTE: The 3 Diffuser Layers are the factory sheets included with the LCD. I had tried variations of using only one or 2, but the result was better with 3 in the end.
Well It's been a busy weekend and I have only just got around to take more pics of the setup. I have named the coffee table "The DSI Project" for lack of a better name =)
The pictures above and left are screenshots of my new Flash AppScroller Menu which I will be releasing in the near future...
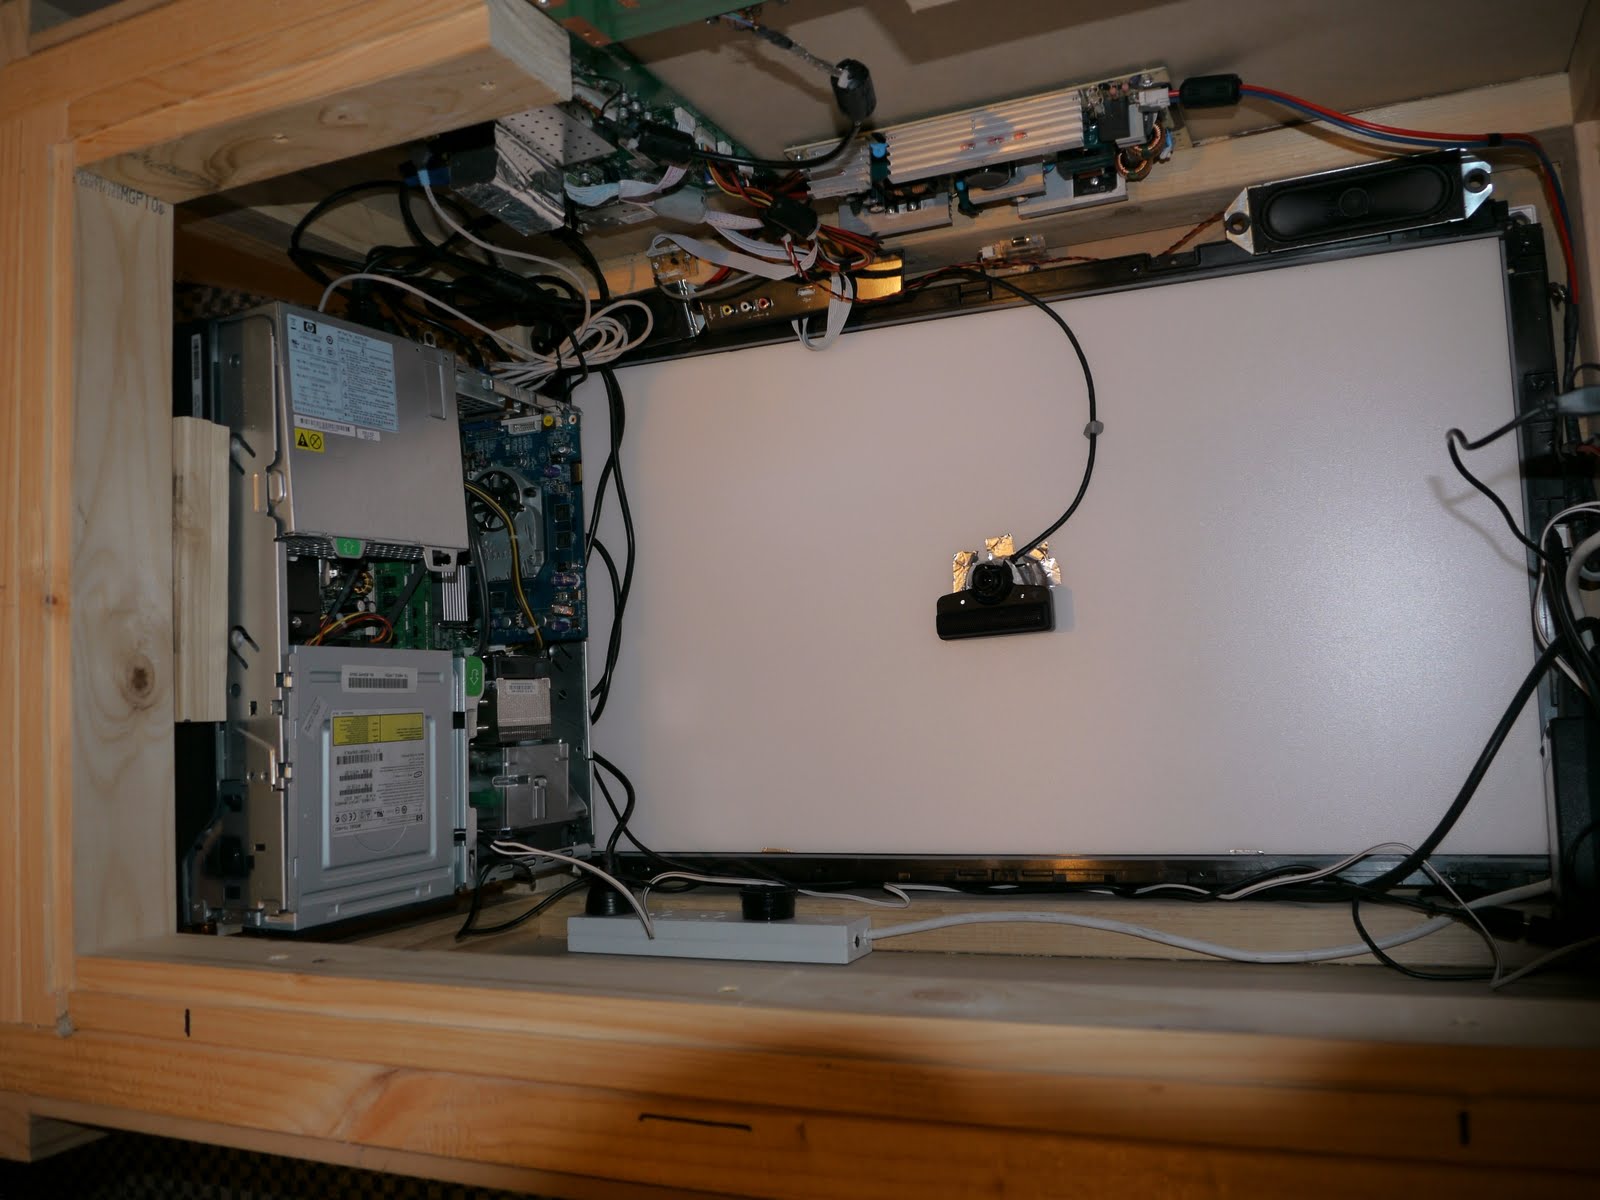
Below are some pictures of the inside and make-up of the table, and I have also thrown in a video of the Motorised 3-Port USB Hub that used. It is touch controlled and tucks away nicely when not in use. Makes for a great flush finish...Not bad for AUD$12!
I'll post some specs and measurements hopefully when I get more time...
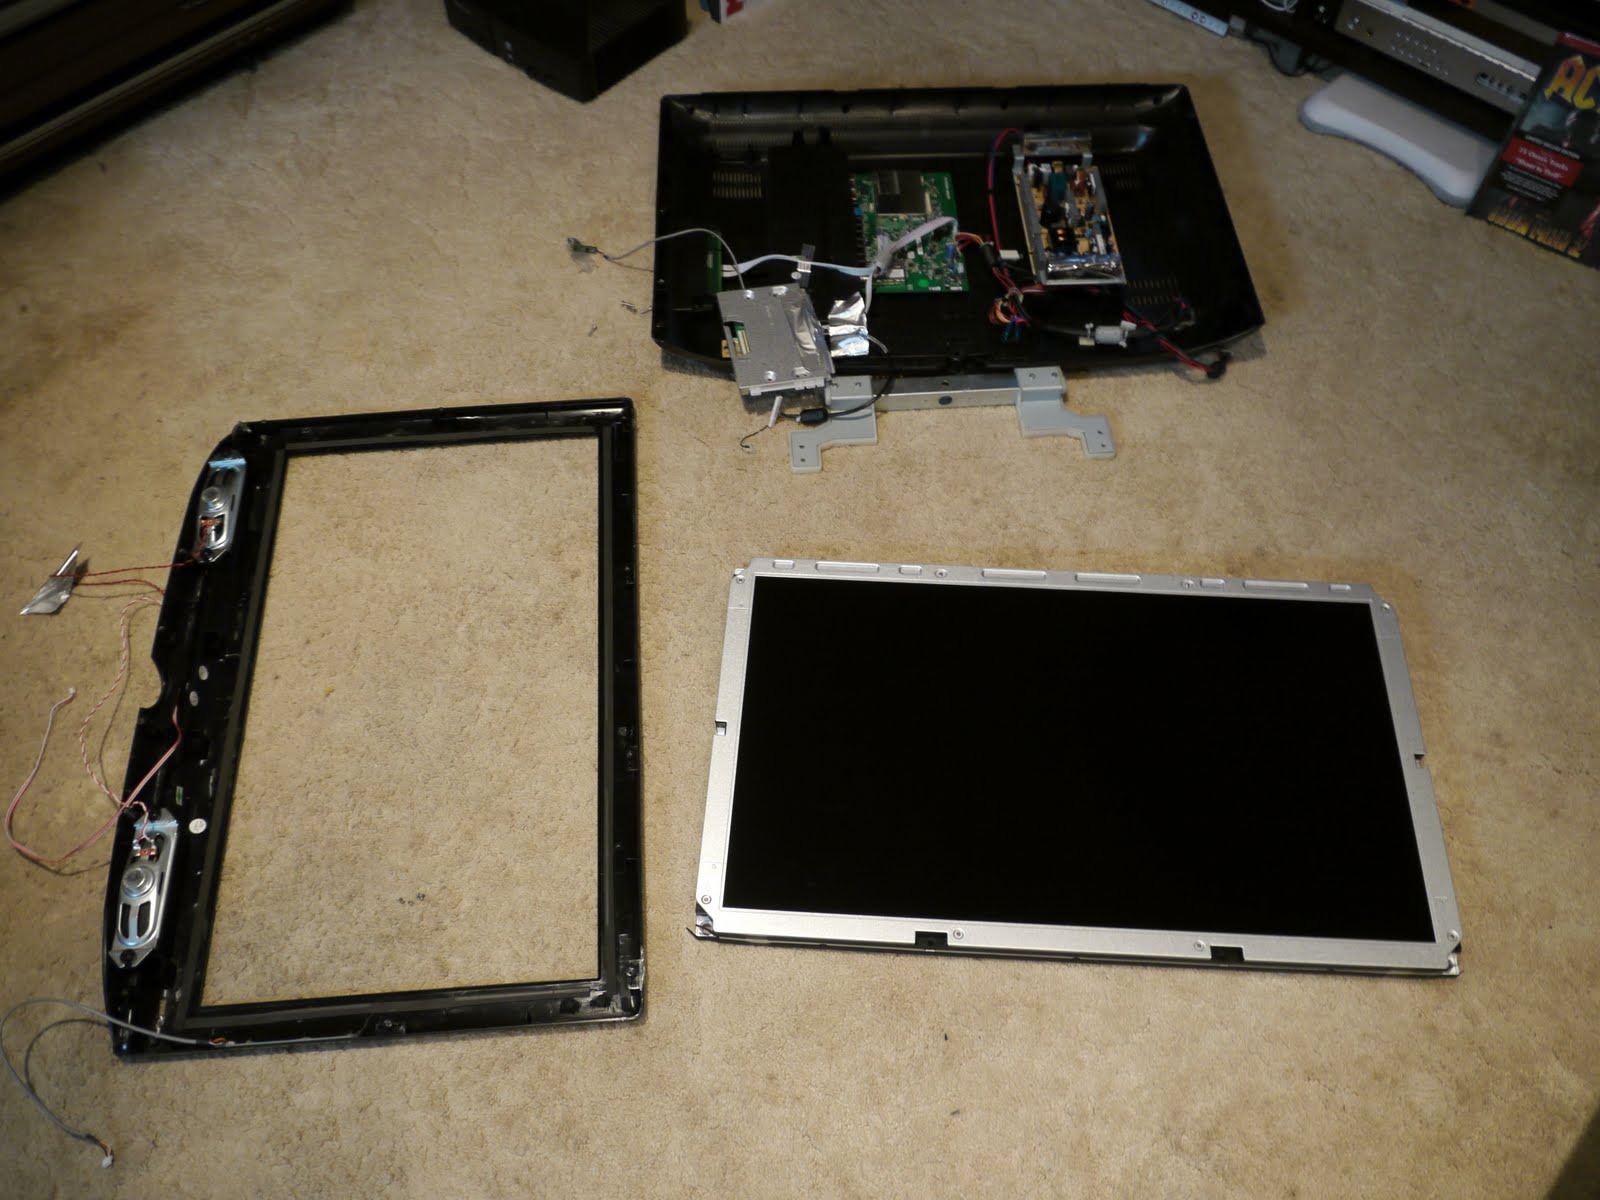
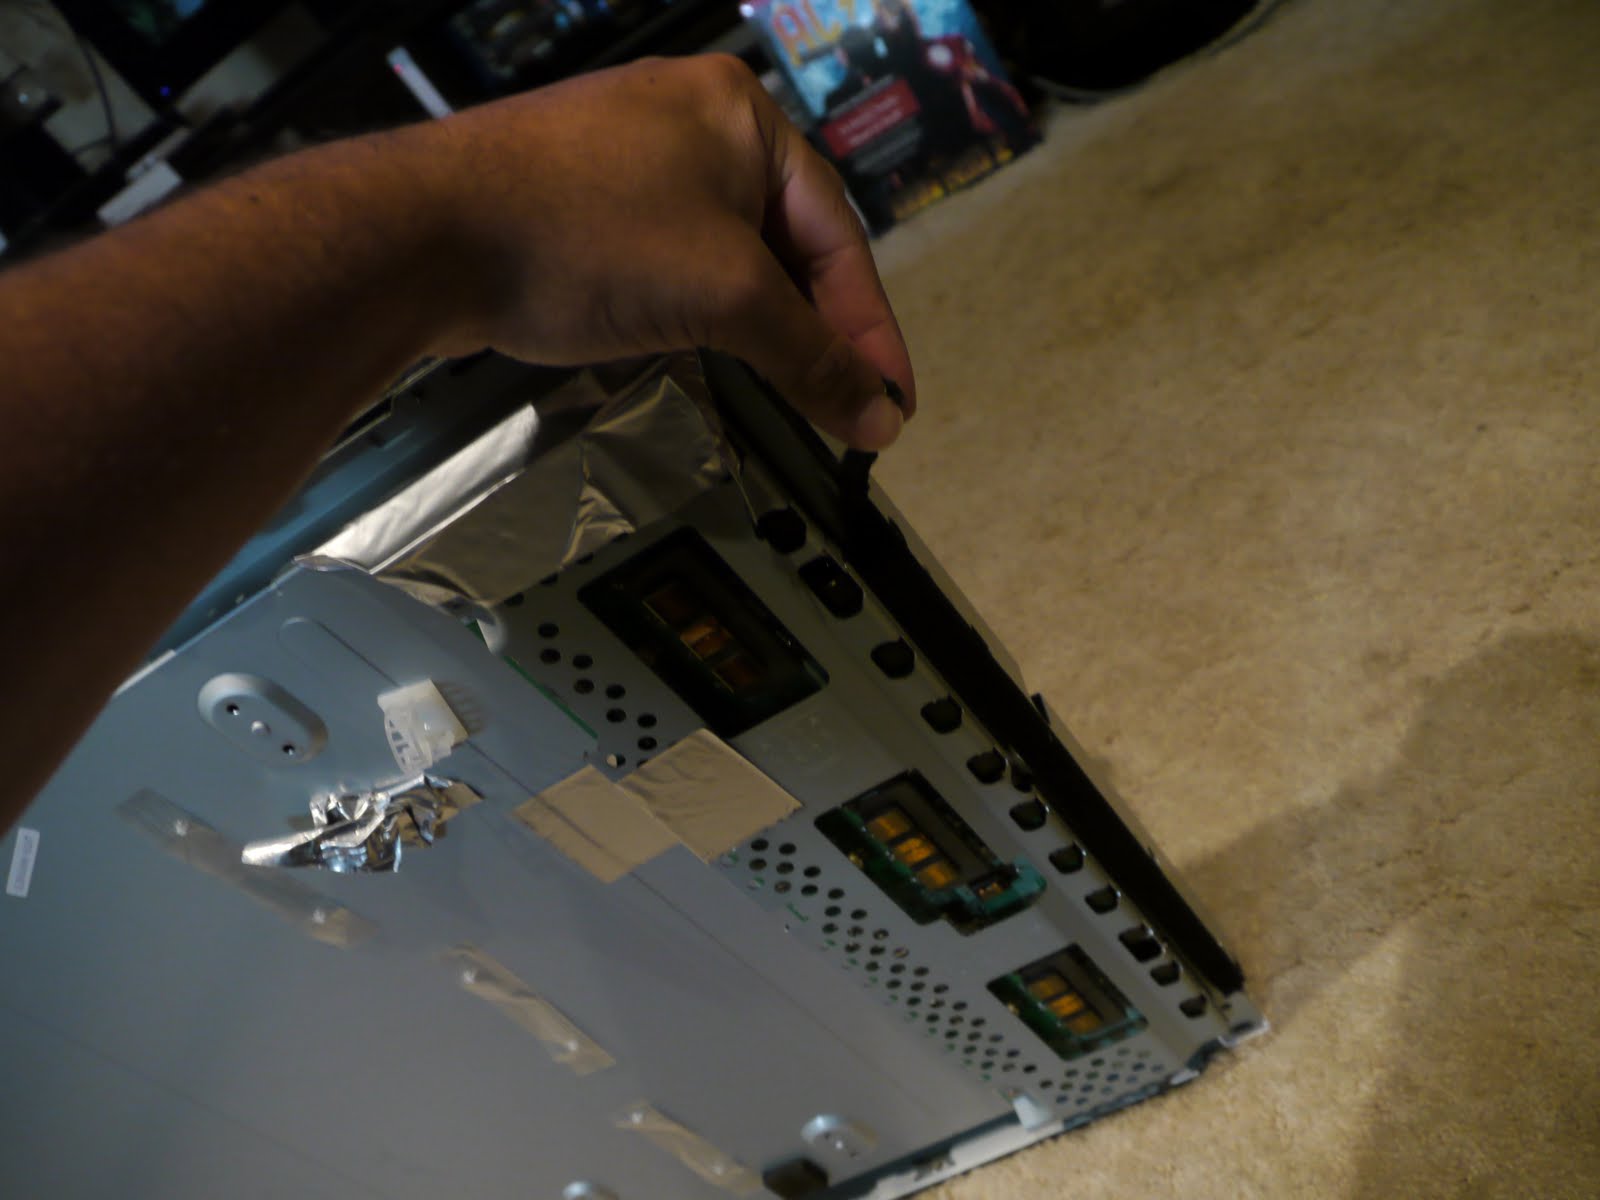
The first pic is the table complete, and the second is the table with the front bezel off. Now the side panel must be removed to un-plug the Endlighten panel so it can be removed. (Each side wall is held in with 4 screws and the front and rear have 6) This is a shot of the LCD panel with a foam surround to protect the edges of the glass panel (I'm not willing to break 2 LCD panels!) The LCD is fixed to a sheet of acrylic - Another sheet of Endlighten in this case which is counter-sunk and fixed into the wood for support and strength. The top and inside views of the table which I will explain in detail in the next post. Now the whole table with the pieces.
This is the underside of the bezel showing the cut-out groove for the Endlighten sheet.
The USB Hub, Power socket, Switch and PC Power button...